Raymii.org

Quis custodiet ipsos custodes?Home | About | All pages | Cluster Status | RSS Feed
Raspberry Pi FM radio transmitter with Buttons
Published: 04-02-2015 | Author: Remy van Elst | Text only version of this article
❗ This post is over ten years old. It may no longer be up to date. Opinions may have changed.
Table of Contents
The PiFM project allows you to use a Raspberry Pi to send out a WAV file on the FM band.
This is awesome because every normal radio then can receive your music/podcast without expensive (sonos) equipment. It also allows you to listen in any car without the need for a radio that handles USB or Bluetooth.
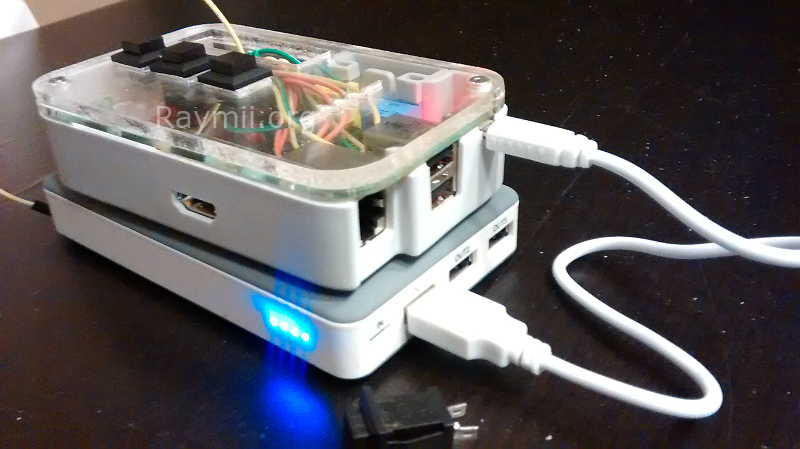
I've used a lasercutter to craft a new top plate for my Pi which has room for three buttons. These are hooked up to a python script which allows me to start and stop the transmission, and skip or go back songs. It also allows me to shut down the Pi instead of just pulling the power cable.
Recently I removed all Google Ads from this site due to their invasive tracking, as well as Google Analytics. Please, if you found this content useful, consider a small donation using any of the options below. It means the world to me if you show your appreciation and you'll help pay the server costs:
GitHub Sponsorship
PCBWay referral link (You get $5, I get $20 after you've placed an order)
Digital Ocea referral link ($200 credit for 60 days. Spend $25 after your credit expires and I'll get $25!)
Please do note that transmitting radio like this might be restricted in your country. In The Netherlands this setup (on FM bands 87,5 to 108 MHz) forbidden because it has too much transmission power. Transmitting on those frequencies is allowed if your transmittor has a maximum capacity of 50nW, and this setup has way more than that. Source: Agentschap Telecom.
Video
A small demo, shot with a phone and an Android app for lack of better equipment:
The Case
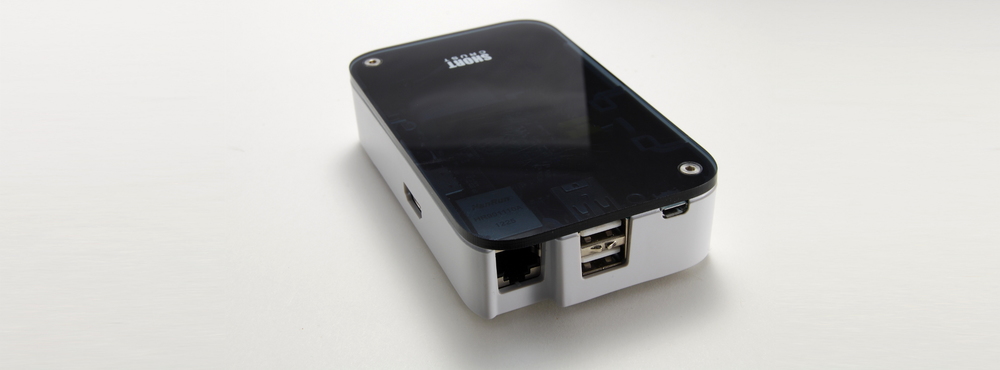
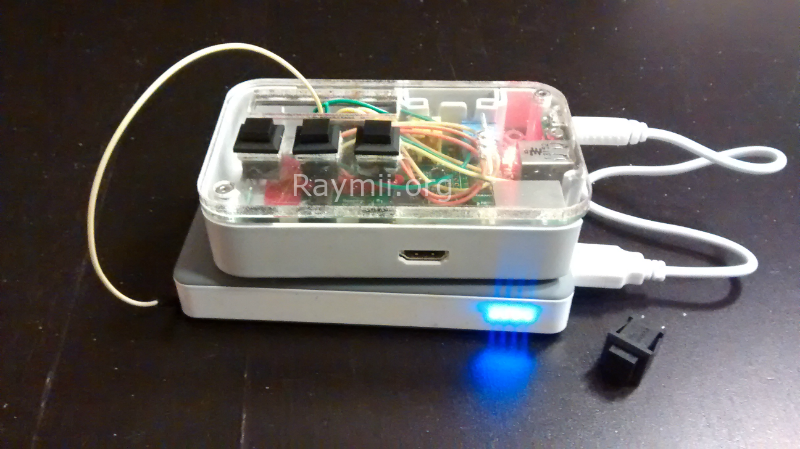
The base of my case is a Short Crust case for the Model B. I initially bought this case because it reroutes the USB power to the front of the Pi. I mostly used it as a server back then, so having a power and a network cable at one side of the device is quite nice. The case also looks beautifull. I bought my case at Pi Supply.
Initially I wanted to use a 3D printer to make a case because I have some experience with that. My hackerspace, Revspace has a Lasercutter and I'd never used that before.
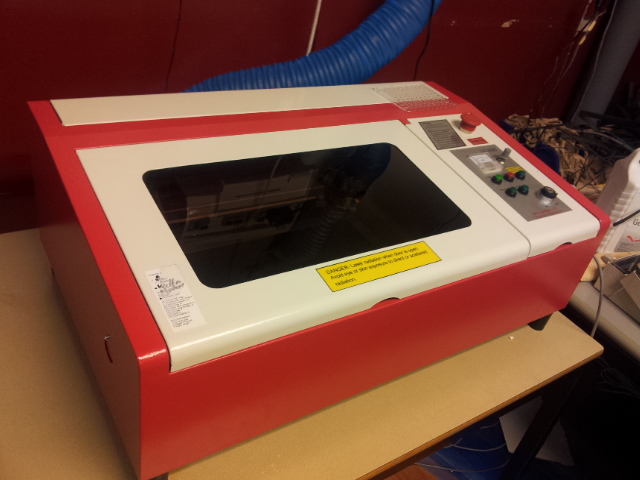
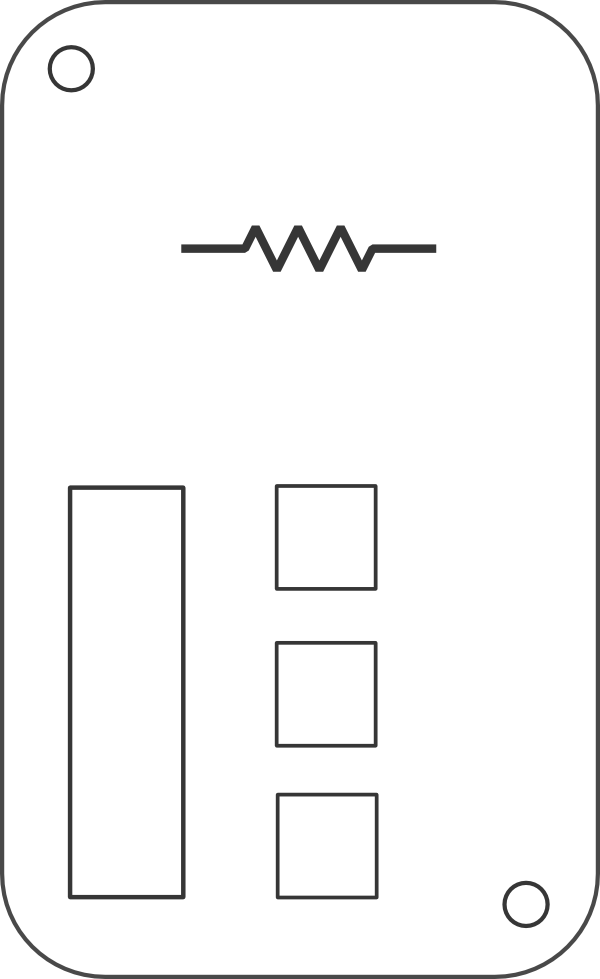
I decided to replace the default top plate on the Short Crust with my own PMMA version which should have place for the three buttons and easy access to the GPIO. I don't find a flat ribbon cable easy access. After receiving the instructions and doing a few test cuts in plywood I fired up Inkscape and found myself a good ruler. I'd also never used Inkscape before but that is quite easy to figure out after some fiddling around.
The SVG file of the top case can be downloaded here. It was cut at power 60% and speed 1.5. Below is a PNG version of the SVG:
My first attempts were not that great. Some measures were gambled the first time, as you can see in the below picture.
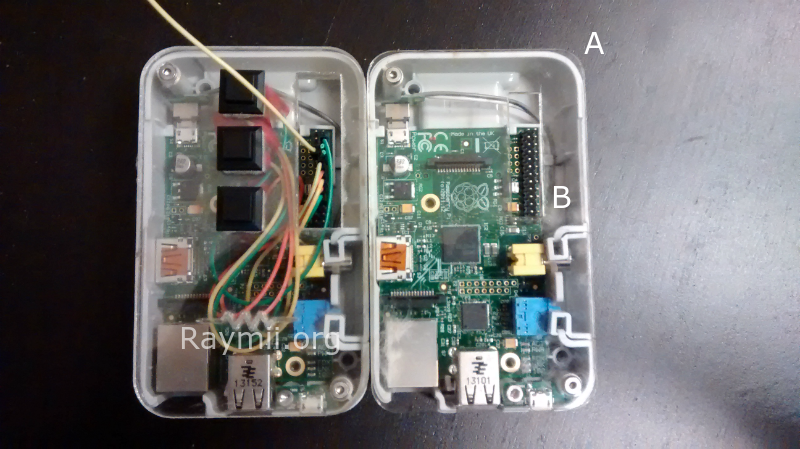
- A: the rounding on the corners was way off
- B: the big access point to the GPIO pins was in the wrong spot
The holes for the screws were also a gamble, but, that was a lucky one, the are in exactly the correct spot. The button holes were measured up and since it are three standard R13-57 buttons that was easy.
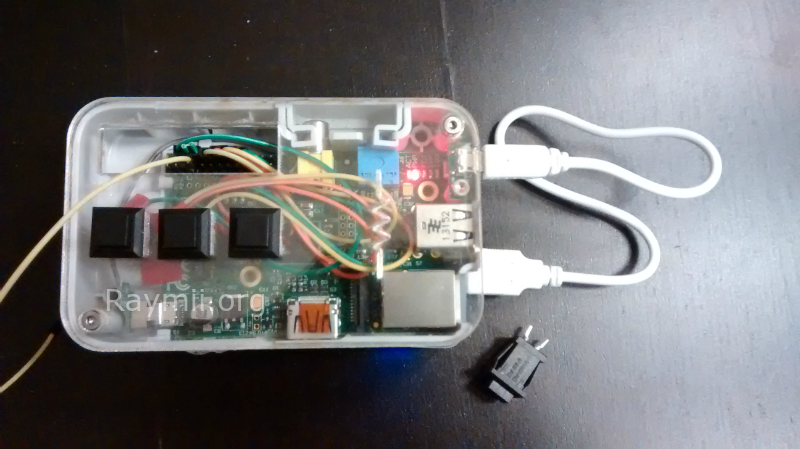
After two attempts and correct measurements I succeeded in printing the correct top plate. It also has my website logo in it, the resistor symbol. That is just a nice touch.
The Buttons
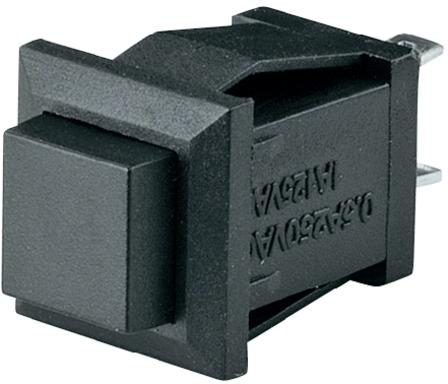
I used three R13-57 push buttons for the input. They have wires soldered on to them and a few pieces of electrical tape so that they do not short the Pi. There is little space in the case.
The buttons are wired up to GPIO pin 18, 23 and 24 (and ground of course). I've used the built in Raspberry Pi Pull Up resistor. If you are using another board of some kind please check if there is a pull up/down resistor built in, otherwise you need to place one in between the button and your GPIO pin, you will get drifting otherwise.
The Python Script
You can find the Python script in my github. It is inspired by the Pirate Radio script frome Make Magazine.
The only part used from that script is the config and the ffmpeg to pifm converting. That script has no concept of a global playlist so implementing start, stop and skip functions in it would be harder.
I've used GPIO callbacks to handle the button input. The button functions are listed below, where bottom is where the network and USB ports are:
- Top button: Previous Song
- Middle button: Stop / Start playing
- Bottom button: Next song
If you first press the Middle (Stop) button and then the Top (Previous) button
the Raspberry Pi will shut itself down using the shutdown -h now command.
After a few seconds you can safely disconnect the power of the Pi without
corrupting your SD card.
Setup Instructions
- Wire up three buttons to GPIO pins 18, 23, 24 and ground.
- Wire up a simple wire on GPIO pin 4 for the antenna.
- Load up Raspbian on your SD card.
- Install
ffmpegandpython3. - Create a folder
/rasplayerfm/and place all your music there. Place a config file there:
# /rasplayerfm/rasplayerfm.conf
[rasplayerfm] frequency = 101.0 shuffle = False repeat all = True stereo playback = True music_dir = /rasplayerfm
Place the compiled
pifmbinary and theRasplayerFM.pyscript there as well.Add the following to
/etc/rc.local(above theexit 0line):/usr/bin/python3 /rasplayerfm/RasplayerFM.py &Mark the
/etc/rc.localfile as executable:chmod +x /etc/rc.localTune your FM radio to the frequency set in the config file.
Reboot the Pi.
Wait a few moments.
Enjoy.
When you boot the Pi up it will automatically start playing on the set frequency. With the buttons you can start, stop and skip music as described above.
This was an interesting project for me because it upped my knowledge and experience with a Lasercutter, Inkscape, GPIO, soldering and Python programming with callbacks and external inputs.
All the code (plus SVG file) from this article is released under the GPLv3. The images are Creative Commons BY-NC-SA.
Tags: articles , backup , debian , fm , ham , lasercutter , pifm , pirate-radio , pmma , raspberry-pi , revspace