Raymii.org

אֶשָּׂא עֵינַי אֶל־הֶהָרִים מֵאַיִן יָבֹא עֶזְרִֽי׃Home | About | All pages | Cluster Status | RSS Feed
Boot to Vim, Vim as Pid 1
Published: 18-09-2014 | Author: Remy van Elst | Text only version of this article
❗ This post is over eleven years old. It may no longer be up to date. Opinions may have changed.
Table of Contents
- Update 22-04-2023: I've figured out how to boot to Vi bare metal, no operating system required!
This is a response on a great article from Pascal Bourguignon, namely how to run Emacsas PID 1.
As we all know, nobody uses emacs.
The above statement is ment to start a flamewar. Please do so, see the contact page to contact me.
No, all joking aside, I found it to be a good article and wanted to see how I could do that with Vim. Not in User Mode Linux, but by creating an actual ISO. Boot to Vim, as you might want to call it.
This is actually fairly simple. Compile vim statically, set it as init= at
boot and you're done.
We are going to use small (9MB) distro named Tiny Core, Core edition and customize that to boot right into our static build of Vim.
Building Vim
Please read and follow my tutorial on building a statically linked Vim. This will give you an executable we will use later on in the tutorial.
Preparation
You will need a few tools to build the ISO, namely cpio, tar, gzip,
advdef and mkisofs. These can probably be installed with your package
manager. Please do that first.
First create a folder for building:
mkdir vim-as-pid-1
cd vim-as-pid-1
Also create a few folders for the ISO build:
mkdir /tmp/isomount
mkdir extract
Download the latest Tiny Core, Core edition (without GUI):
wget http://distro.ibiblio.org/tinycorelinux/5.x/x86/release/Core-current.iso
Copy the files from the ISO:
mount Core-current.iso /tmp/isomount/ -o loop,ro

cp -a /tmp/isomount/boot /tmp/
This creates a /tmp/boot folder with the core.gz and boot loader. Don't
forget to umount it:
umount /tmp/isomount
We will use the /tmp/boot folder later on when putting back together the ISO.
Changing the ISO
Go into the folder where we will extract the core.gz root filesystem:
cd extract
Use zcat and cpio to extract the core.gz rootfs:
zcat /tmp/boot/core.gz | cpio -i -H newc -d
We now have an extracted root filesystem:
# ls
bin  dev  etc  home  init  lib  linuxrc  mnt  opt  proc  root  run  sbin  sys  tmp  usr  var
Place the earlier built static Vim in the bin/ folder:
cp ~/vim bin/
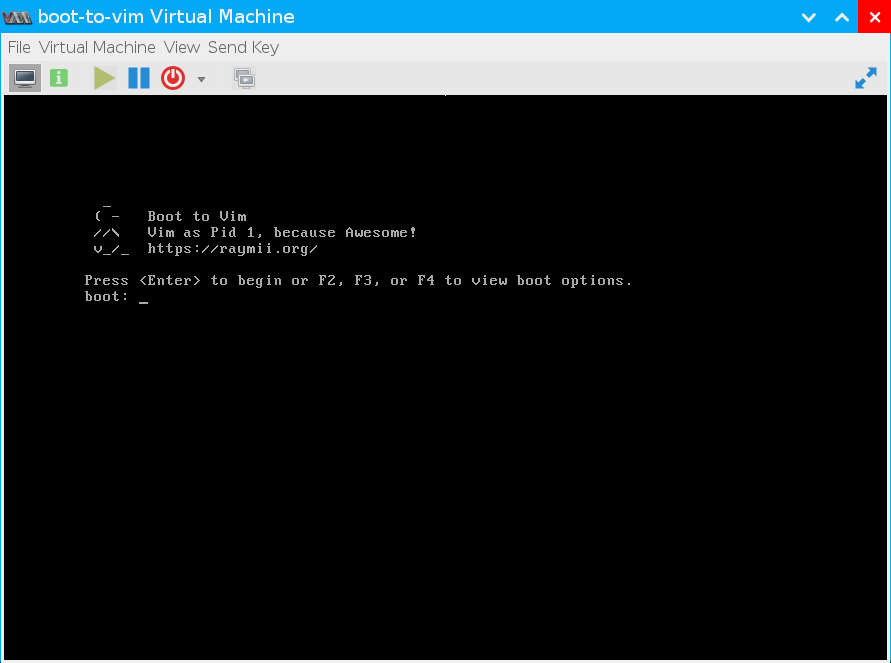
You can do more customizations, for example, editing the boot loader message.
That is in a file named boot.msg in /tmp/boot/isolinux/:
# vim /tmp/boot/isolinux/boot.msg
^L
  _
 ( -   Boot to Vim
 //\   Vim as Pid 1, because Awesome!
 v_/_  https://raymii.org/

Press <Enter> to begin or F2, F3, or F4 to view boot options.
Changing the inittab
To boot in to Vim right away we need to change the init configuration. Edit the following file:
vim etc/inittab
Change the following lines:
::sysinit:/etc/init.d/rcS
tty1::respawn:/sbin/getty 38400 tty1
To:
::sysinit:/bin/vim
tty1::respawn:/bin/vim
Do note that this does not actually make Vim PID 1. Init will still manage Vim,
and do stuff like fsck and mount the root partition read/write. If you want to
go barebones, add init=/bin/vim to the bootloader (isolinux.cfg). Then, from
Vim, do :!fsck /dev/sda and mount -o remount,rw /.
Building a new ISO
Make sure you are still in the extract folder. Issue the following command to
build a new tinycore.gz file which the ISO will use as it's initramfs:
find | cpio -o -H newc | gzip -2 > ../tinycore.gz
Copy that over the original core.gz file in /tmp/boot which we copied
ealier:
cp ../tinycore.gz /tmp/boot/core.gz
Create a new folder for the new ISO build files:
mkdir /tmp/newiso
Copy the /tmp/boot folder to it:
cp -a /tmp/boot /tmp/newiso/
Build a new ISO using mkisofs:
cd /tmp/
mkisofs -l -J -R -V Boot_To_Vim -no-emul-boot -boot-load-size 4 -boot-info-table -b boot/isolinux/isolinux.bin -c boot/isolinux/boot.cat -o Boot_to_Vim.iso newiso
You now have a file in /tmp named Boot_to_Vim.iso:
ls -la /tmp/Boot_to_Vim.iso
-rw-r--r-- 1 root root 11044864 Sep 17 08:05 /tmp/Boot_to_Vim.iso
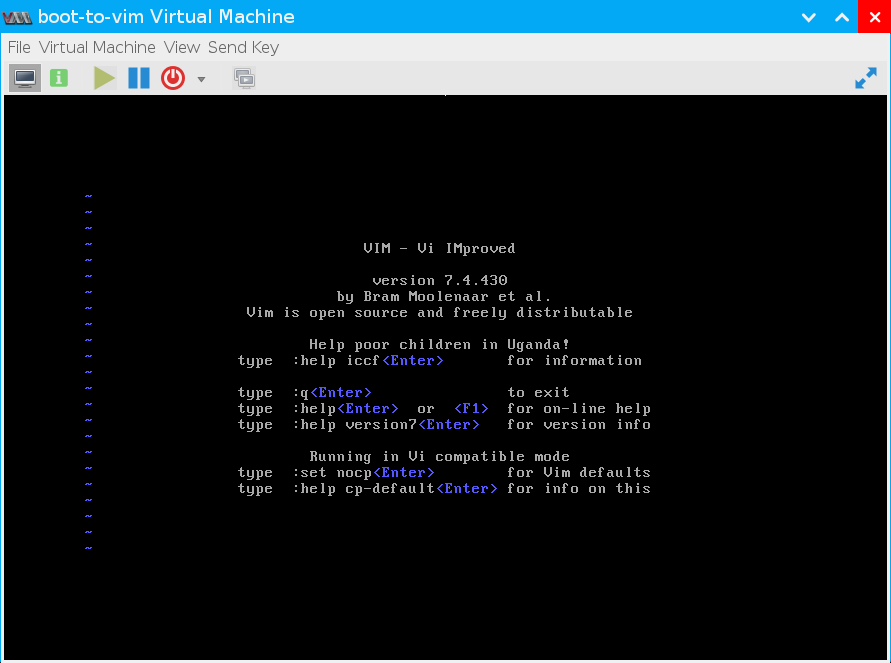
You can use this to boot a VM, or burn an ISO. If you exit vim, it will
restart.
You can start up a real shell by giving the :!sh command, in command mode. To
shut down, issue the :!halt command.
More info on remastering Tiny Core can be found here.